---
title: "Add an Image to the Popup"
description: "Add an image to your popup from the Design Editor, choose it from your library or upload a new one, and adjust how it sizes, crops, and aligns."
---
You can add an image to your popup — or any component — from the Design Editor, then control how it sizes, crops, and aligns.
## Add the Image Content
1. In the Design Editor, click **Components**, then click the component you want to modify. For this example, we'll use the **Popup**.
2. Click the **pencil** icon to edit.
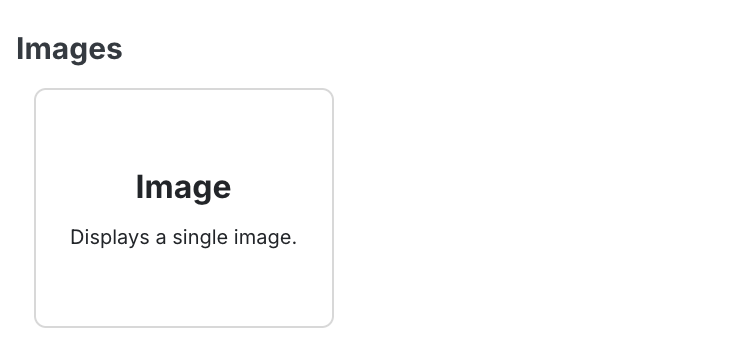
3. Add an Image content block one of two ways:
- Click **Add Content** and choose **Image** from the content types, or
- Click an existing image in the content stack to edit it.
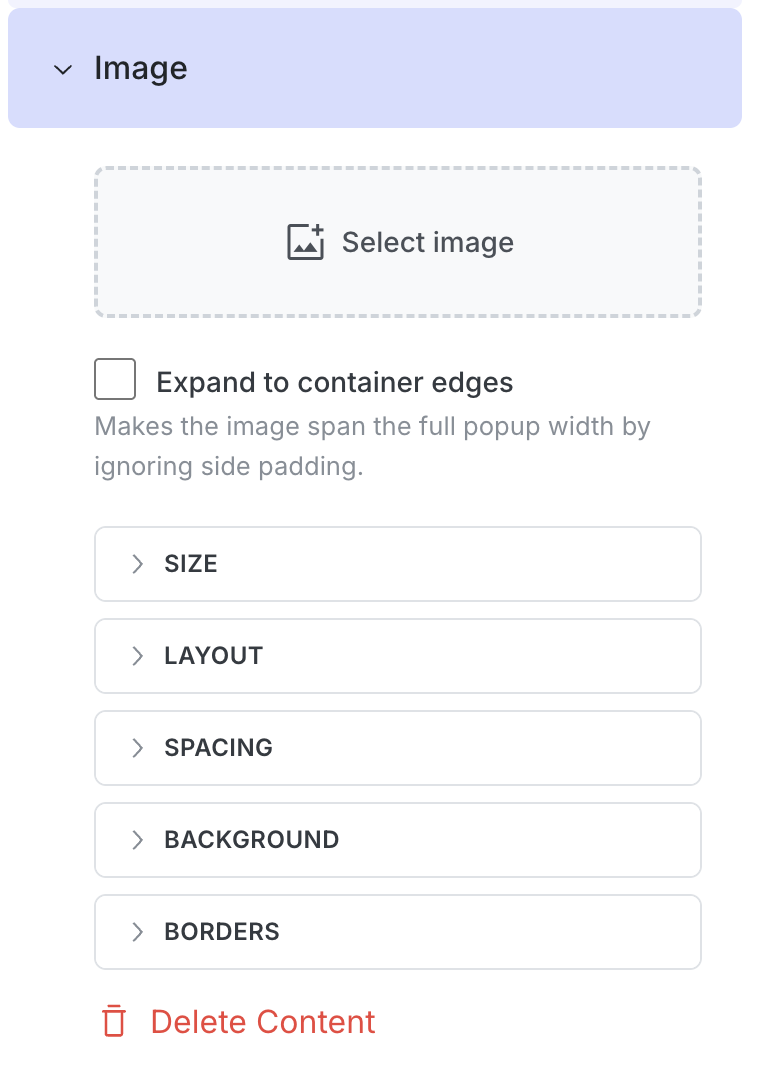
 4. In the Image content block, click **Select image**.
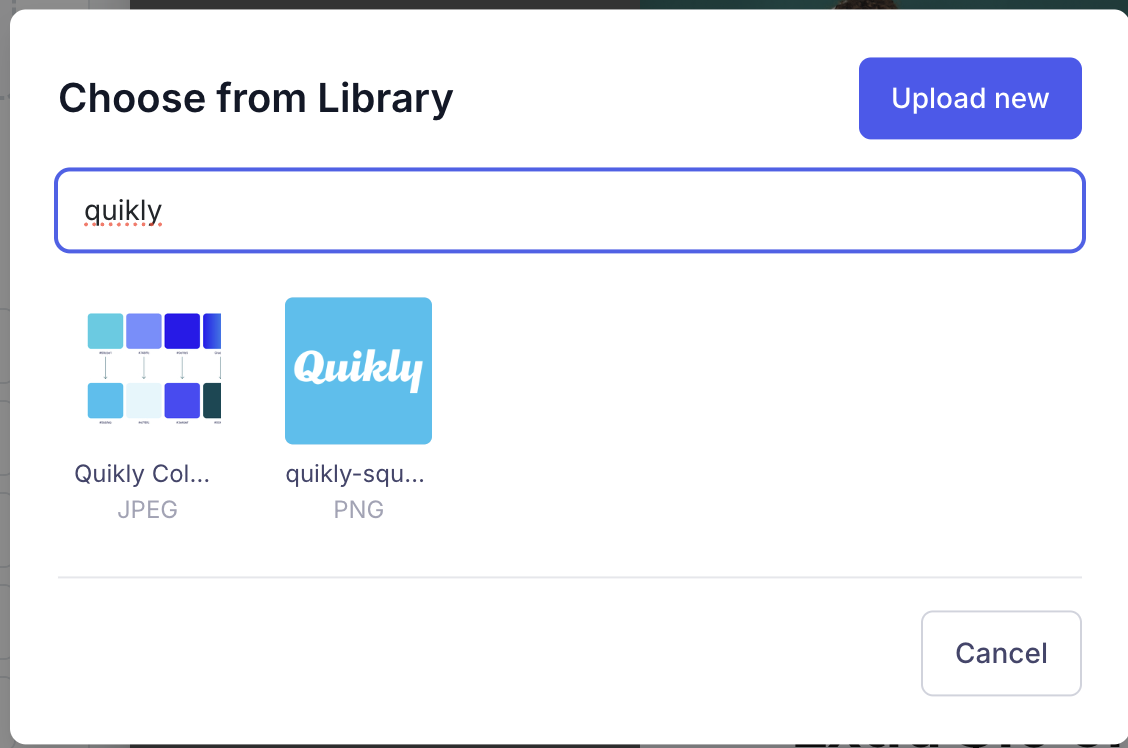
 5. The **Choose from Library** window opens. Pick an existing image from your library, or click **Upload new** to add one to your account.
 ## Adjust How the Image Displays
Once an image is selected, the Image block exposes controls for fit and styling:
- **Expand to container edges** — Makes the image span the full popup width by ignoring the side padding. (Leave it off to keep the image inset within the popup's padding.)
- **Size** — Set the image's width and height. You can also set an **aspect ratio** to crop the image to a fixed shape; when an aspect ratio is set, the image fills the frame (cover) and is centered by default, with controls to change how it's fitted and positioned within the crop.
- **Layout** — Align the image left, center, or right within the popup.
- **Borders** — Round the corners (border radius) and add a border color.
- **Background** and **Spacing** — Set a background color behind the image, and adjust margins and padding around it.
Click **Save** when you're done, and preview the popup to confirm the image looks right on both desktop and mobile.
## Image Specifications
When uploading a new image to your library:
- **File type:** Any image format. The uploader shows PNG, JPG, and GIF, and also accepts other image formats such as SVG and WebP.
- **Maximum file size:** 10 MB.
There's no fixed dimension requirement, but for crisp results upload an image at least as large as the space it will fill in the popup, and use the **Size** and aspect-ratio controls above to fit it. Smaller, web-optimized files also keep the popup loading fast.
## Related Tutorials
- [Insert Dynamic Offer Text in the Popup](/shopify/tutorials/dynamic-offer-tokens)
- [Position and Layer the Teaser and Popup](/shopify/tutorials/positioning-teaser-and-popup)
## Adjust How the Image Displays
Once an image is selected, the Image block exposes controls for fit and styling:
- **Expand to container edges** — Makes the image span the full popup width by ignoring the side padding. (Leave it off to keep the image inset within the popup's padding.)
- **Size** — Set the image's width and height. You can also set an **aspect ratio** to crop the image to a fixed shape; when an aspect ratio is set, the image fills the frame (cover) and is centered by default, with controls to change how it's fitted and positioned within the crop.
- **Layout** — Align the image left, center, or right within the popup.
- **Borders** — Round the corners (border radius) and add a border color.
- **Background** and **Spacing** — Set a background color behind the image, and adjust margins and padding around it.
Click **Save** when you're done, and preview the popup to confirm the image looks right on both desktop and mobile.
## Image Specifications
When uploading a new image to your library:
- **File type:** Any image format. The uploader shows PNG, JPG, and GIF, and also accepts other image formats such as SVG and WebP.
- **Maximum file size:** 10 MB.
There's no fixed dimension requirement, but for crisp results upload an image at least as large as the space it will fill in the popup, and use the **Size** and aspect-ratio controls above to fit it. Smaller, web-optimized files also keep the popup loading fast.
## Related Tutorials
- [Insert Dynamic Offer Text in the Popup](/shopify/tutorials/dynamic-offer-tokens)
- [Position and Layer the Teaser and Popup](/shopify/tutorials/positioning-teaser-and-popup)