Quikly Swap
Quikly Swap campaigns incentivize a specific action in exchange for an offer. You can easily layer in urgency or scarcity by limiting rewards, or configuring offers that decrease in value over time. For example, the marketing message could be:
** Sign up in the next 24 hours to receive $10 off your order, or in the next 48 hours for $5 off your next order. **
Or, alternatively:
** The first 500 people to sign up will receive a code good for 20% off. **
Overview
Section titled “Overview”Swap campaigns are generally comprised of three visual components:
- instructions banner: conveys real-time offer detail (current offer eligilbilty, quantity or time left, etc)
- offer presentation: offer codes, fine print, terms
- redemption banner: display any previously claimed offers, useful during checkout
In terms of the API, the basic concept for a Swap campaign is to 1) query for offer details, 2) trigger an event that indicates the targeted action was completed, and 3) query for claimed offer details.
Campaigns can be configured to be visible to all users, or only those that have obtained a unique access key via an activation URL.
Instructions Banner
Section titled “Instructions Banner”Use the following query to fetch dynamic content useful to explain what action is needed to receive the offer, as well as what offers are available.

query InstructionsQuery($hashid: String!) { quikly(hashid: $hashid) { id instructionsStatic: customContentFor(key: "embed_instructions_static") instructionsUpcoming: customContentFor(key: "embed_instructions_upcoming_offer") instructionsExpiring: customContentFor( key: "embed_instructions_expiring_offer" ) instructionsLast: customContentFor(key: "embed_instructions_last_offer") dealClosedTitle: customContentFor(key: "deal_closed") dealClosedSubtitle: customContentFor(key: "deal_closed_subtitle") ended claimBySpeed incentiveTiers { id rank description upperResponseTime quantity claimCount allClaimed } }}The fields include:
quiklyrefers to the campaign instancecustomContentForloads text content from the CMSendedis a boolean value indicating if the campaign has expiredclaimBySpeedis a boolean value indicating if the offer value is determined by the speed of response rather than rankincentiveTiersprovides info about the offer types available
Claiming an Offer
Section titled “Claiming an Offer”To claim an offer, send the user’s email address to the createEmbeddedClaim mutation. This returns a unique offer identifier (qid) and receiptToken used to securely fetch offer details, as well as the user’s authToken which can then be used to identify this user on subsequent interactions with the API via the authorization header.
mutation createEmbeddedClaim( $dealHashid: String! $email: String!) { createEmbeddedClaim( input: { dealId: $dealHashid, email: $email } ) { errors { key message } user { id authToken } order { id qid receiptToken } }}You should store the qid, receiptToken from the order object locally to retrieve the offer detail.
Fetching Offer Detail
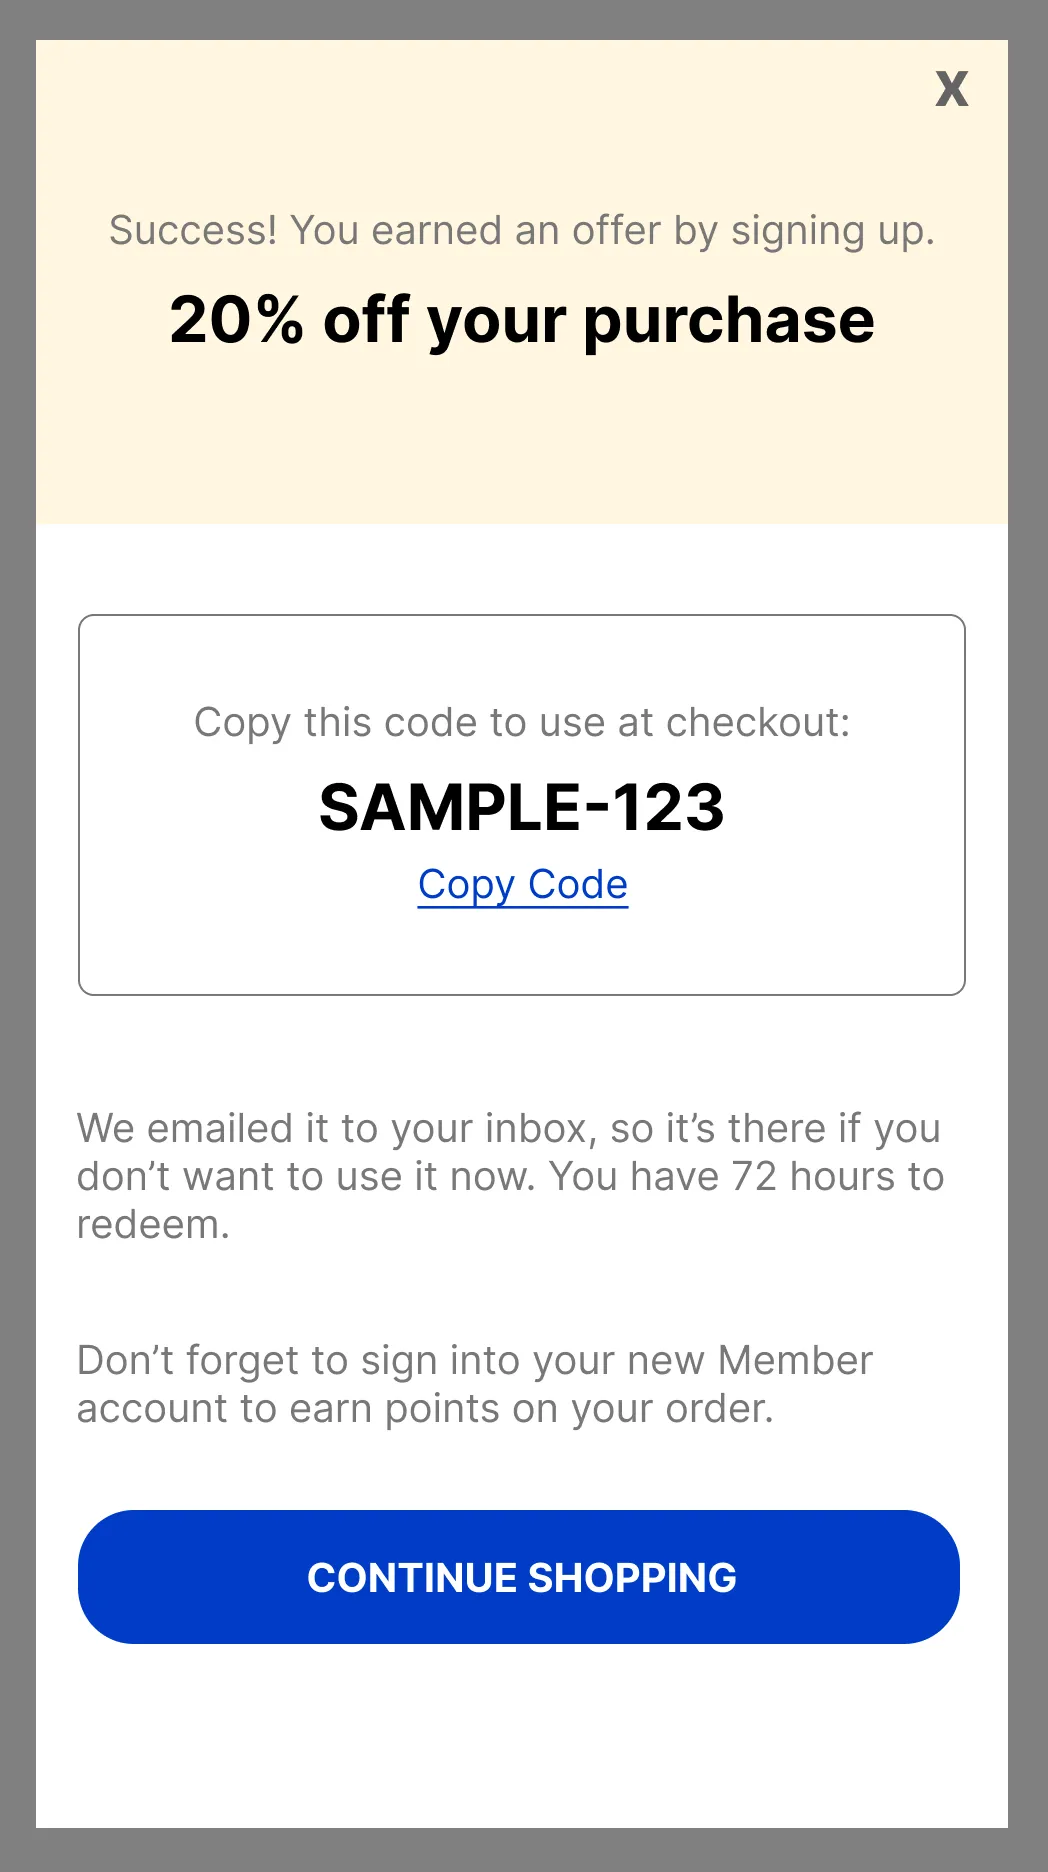
Section titled “Fetching Offer Detail”Use the getOrder query to fetch offer details. At a minimum you’ll probably want top display the itemFullDescription the codes, but the API also provides access to other useful content as demonstrated in the Offer Detail screen below.

query getOrder($orderId: Int!, $receiptToken: String!) { order( orderId: $orderId receiptToken: $receiptToken ) { id qid expirationDate itemFullDescription itemInstructions finePrint codes: codesWithLabelsAndBarcodes { instore pin value label } links { id name url position } quikly { id hashid termsUrl congratsMessage: customContentFor(key: "claim_congrats") congratsHeader: customContentFor(key: "claim_congrats_embedded_header") congratsSubheader: customContentFor( key: "claim_congrats_embedded_subheader" ) redeemCopy: customContentFor(key: "embed_redeem_body") } }}If you wanted to simply display a banner like the image below, you may end up building a query like this:

query getOrder($orderId: Int!, $receiptToken: String!) { order( orderId: $orderId receiptToken: $receiptToken ) { id qid redeemCopy codes: codesWithLabelsAndBarcodes { pin value } }}At this point, referencing the OrderType in the GraphiQL Explorer will be very useful!