Klaviyo
Quikly integrates with Klaviyo to sync your campaign data. Follow these steps to connect your accounts.
Connecting Klaviyo
Section titled “Connecting Klaviyo”- From your Quikly dashboard, click Settings
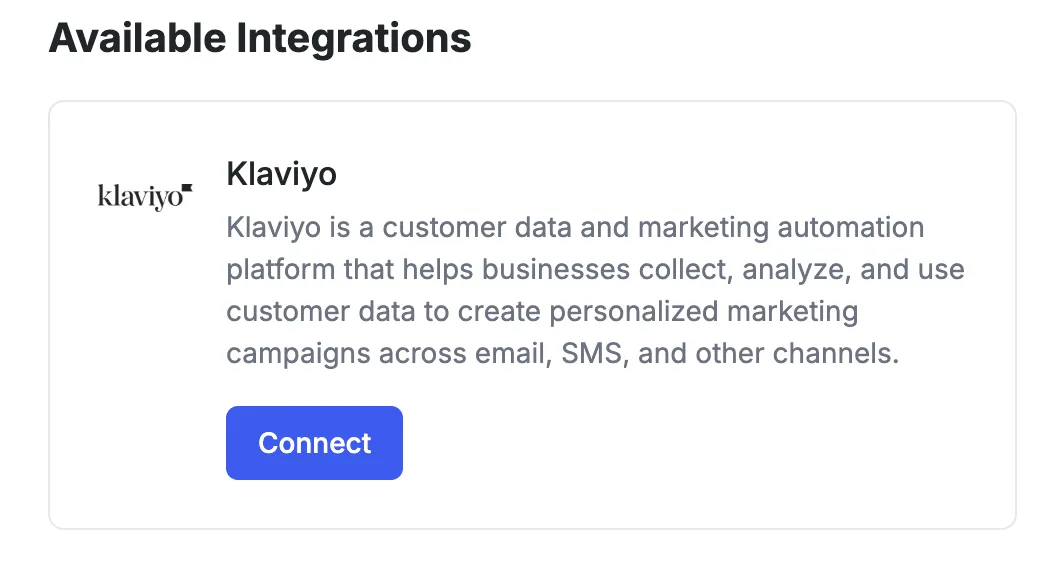
- Under Available Integrations, find Klaviyo and click the blue Connect button
- In the popup window, enter your API Key and List Name
- Click Save Integration
Getting Your API Key
Section titled “Getting Your API Key”You’ll need a private API key from Klaviyo. Only Owners and Admins can create API keys.
- Go to Klaviyo API Keys Settings
- Click Create Private API Key
- Give the key a descriptive name (e.g., “Quikly Integration”)
- Select Custom access level and enable the required scopes (see below)
- Click Create
Required API Scopes
Section titled “Required API Scopes”When creating your API key, select Custom and enable the following scopes:
profiles:read— read profile data and list relationshipsprofiles:write— create and update profilessubscriptions:write— subscribe profiles to listslists:read— check list membershiplists:write— add profiles to a list
Important: Copy and save your API key immediately after creation. You won’t be able to view it again. Store it securely in a password manager.
For detailed instructions, see Klaviyo’s guide on creating private API keys.
Finding Your List ID
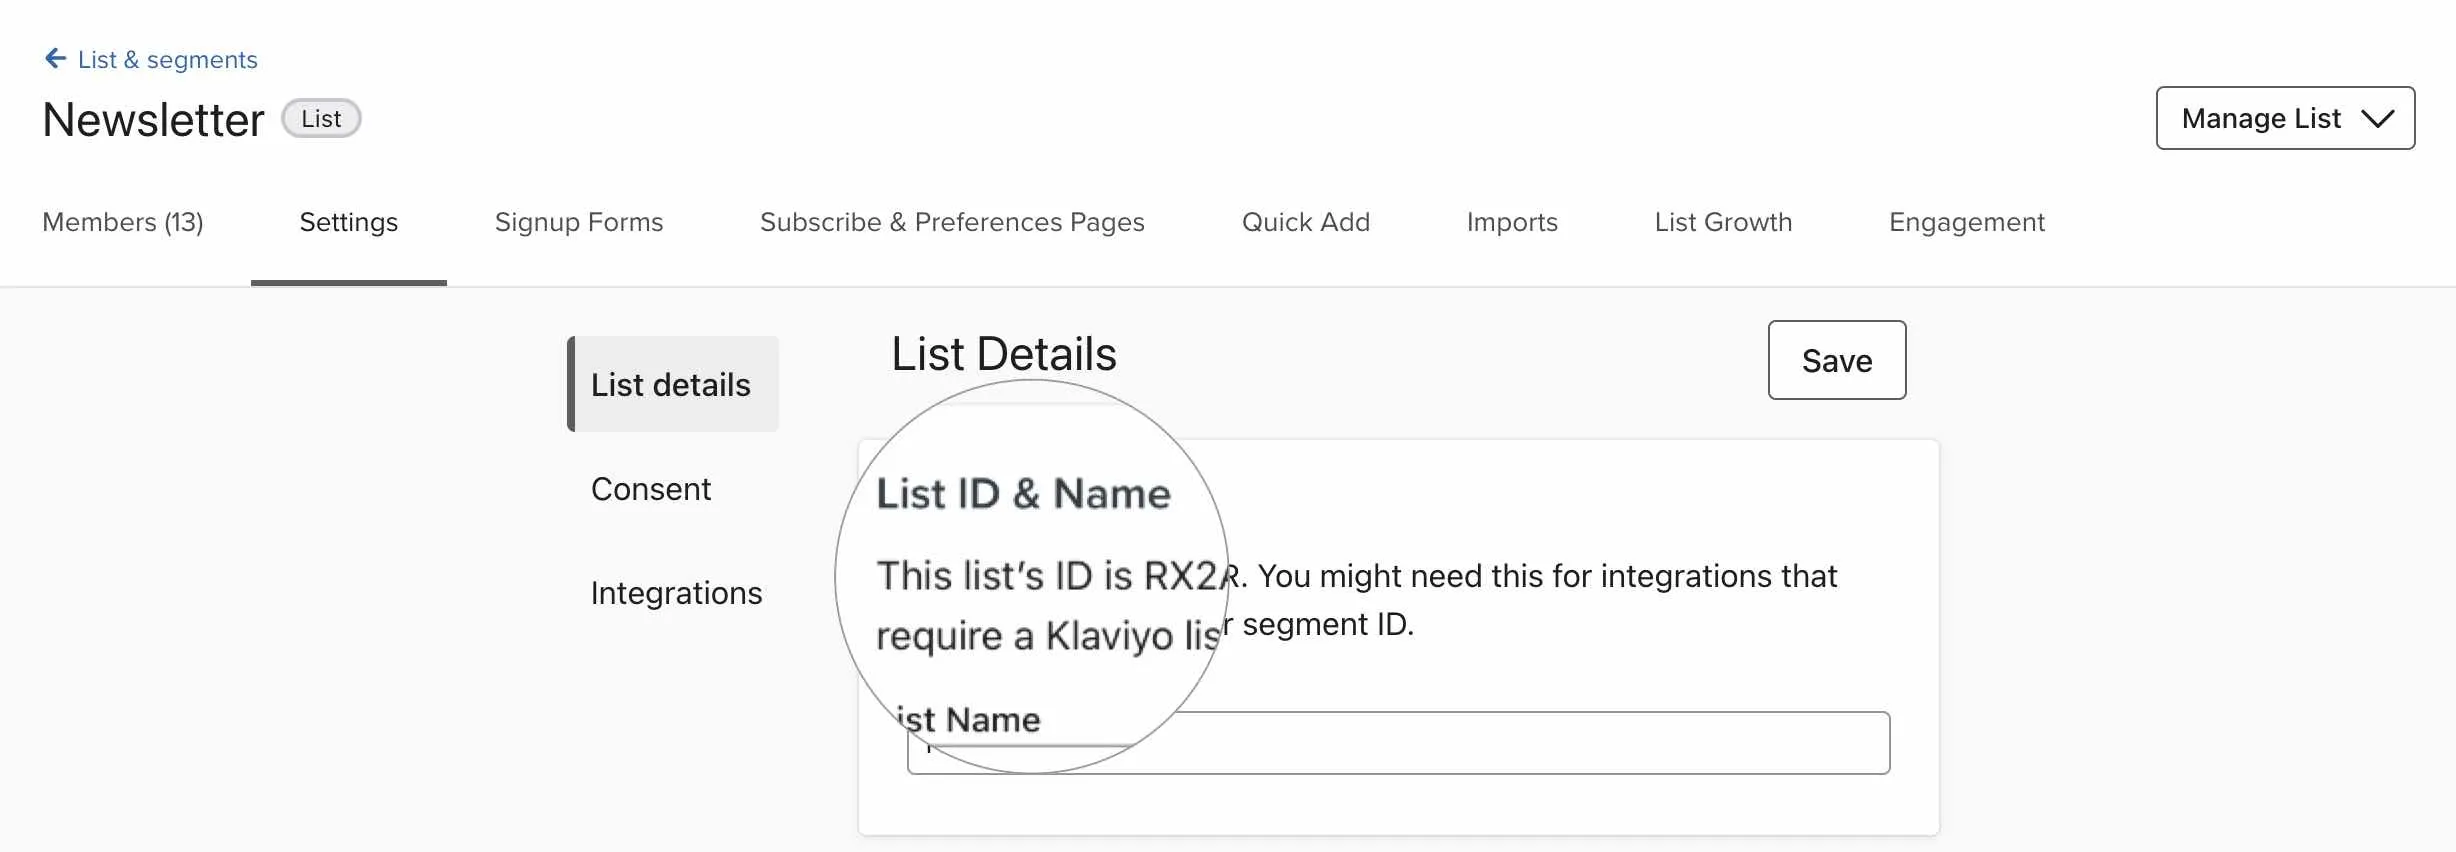
Section titled “Finding Your List ID”The List Name field in Quikly requires your Klaviyo list ID, which is the alphanumeric code found in the list URL.
To find it:
- In Klaviyo, navigate to Lists & Segments
- Select the list you want to connect
- Open the Settings tab
- The list ID appears near the top of the page under List Details
Alternatively, look at the URL in your browser when viewing the list. The list ID is the short alphanumeric string in the URL (e.g., https://www.klaviyo.com/list/ABC123/... — the list ID is ABC123).
For more details, see Klaviyo’s guide on finding a list ID.